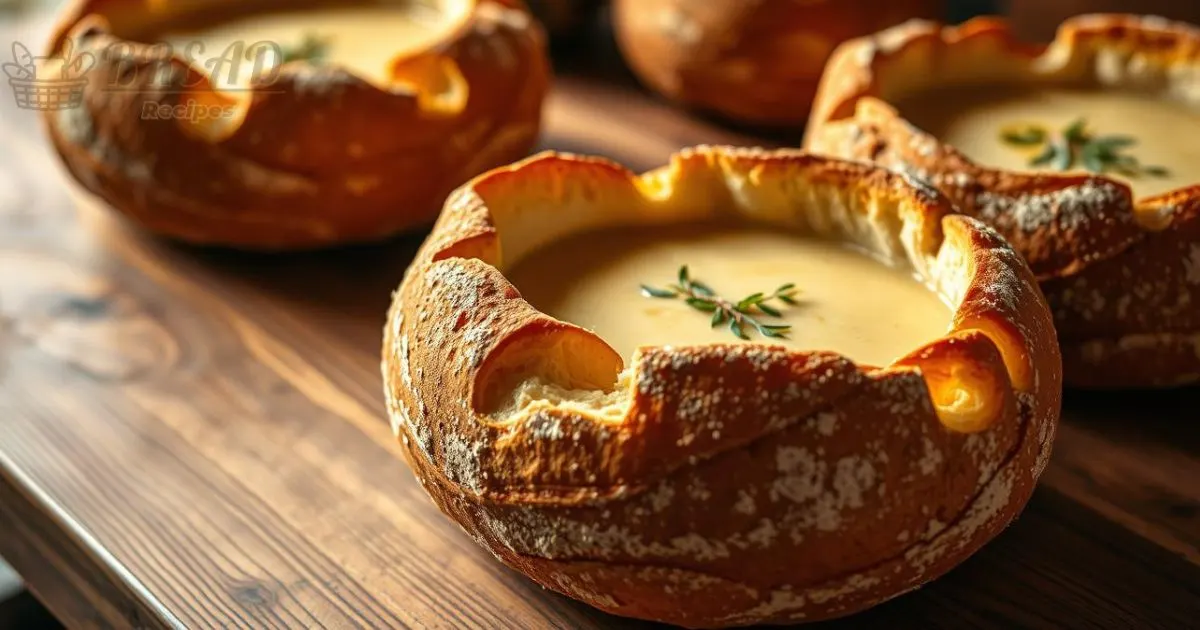
The smell of fresh sourdough bread in the kitchen brings back memories of comfort and nostalgia. Growing up in San Francisco, I loved the unique taste of sourdough bread. Now, I enjoy making my own sourdough bread bowls, which bring back those Bay Area flavors.
Sourdough bread bowls are great for soups, stews, and dips. Their crusty outside and soft inside make any dish better. Making them is a fun process, using a sourdough starter instead of yeast. It’s a journey from mixing to baking, teaching you about homemade sourdough.
Table of Contents
Key Takeaways
- Sourdough bread bowls are the perfect vessel for hearty soups, stews, and party dips.
- The recipe uses an active sourdough starter, making it ideal for sourdough enthusiasts and those looking to use up discard.
- The baking process involves shaping, proofing, and baking, resulting in a crusty exterior and soft, chewy interior.
- Homemade sourdough bread bowls are a delicious and impressive way to serve your favorite dishes.
- This recipe captures the essence of the iconic San Francisco sourdough tradition.
Essential Ingredients and Equipment for Sourdough Bread Bowls
To make perfect sourdough bread bowls at home, you need a few key things. First, you’ll need an active and ripe sourdough starter. You’ll also need filtered water, high-quality bread flour, and kosher salt.
Active Sourdough Starter Requirements
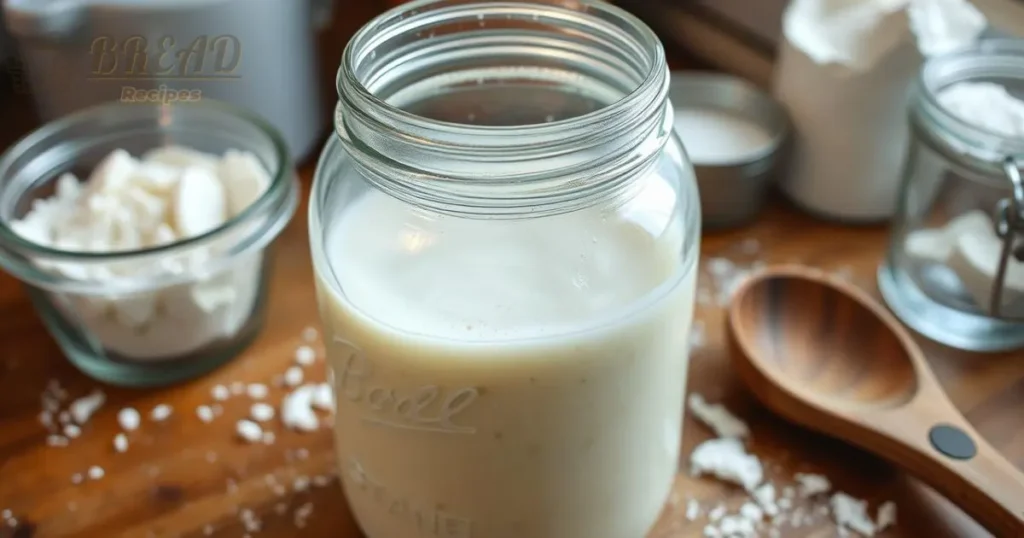
Your sourdough starter is the base for your bread bowls. Use about 150g of starter. Make sure to feed it 8 hours before starting the recipe for the best results.
Flour Types and Quality Considerations
Choose the right flour for the best taste. Go for organic sourdough or unbleached all-purpose flour. A mix of all-purpose and bread flour works well too. High-quality flours like King Arthur Bread Flour will give you a delicious, chewy crumb.
Must-Have Tools and Equipment
- Kitchen scale for accurate ingredient measurements
- Large mixing bowl for dough preparation
- Dough scraper to easily handle the sticky dough
- Baking sheet or pizza stone for baking
- Parchment paper to prevent sticking
- Sharp knife or bread lame for scoring the dough
While not essential, a stand mixer with a dough hook attachment makes kneading easy. A proofing basket can also help shape the dough into perfect bread bowls.

“With the right ingredients and equipment, you can easily craft professional-quality sourdough bread bowls right in your own kitchen.”
Creating and Maintaining Your Sourdough Starter
Starting a sourdough starter is key to baking tasty sourdough bread and organic sourdough treats at home. Begin by mixing equal parts flour and water. Let it ferment at room temperature.
Feed your starter daily with fresh flour and water. Discard some to keep it the right size.
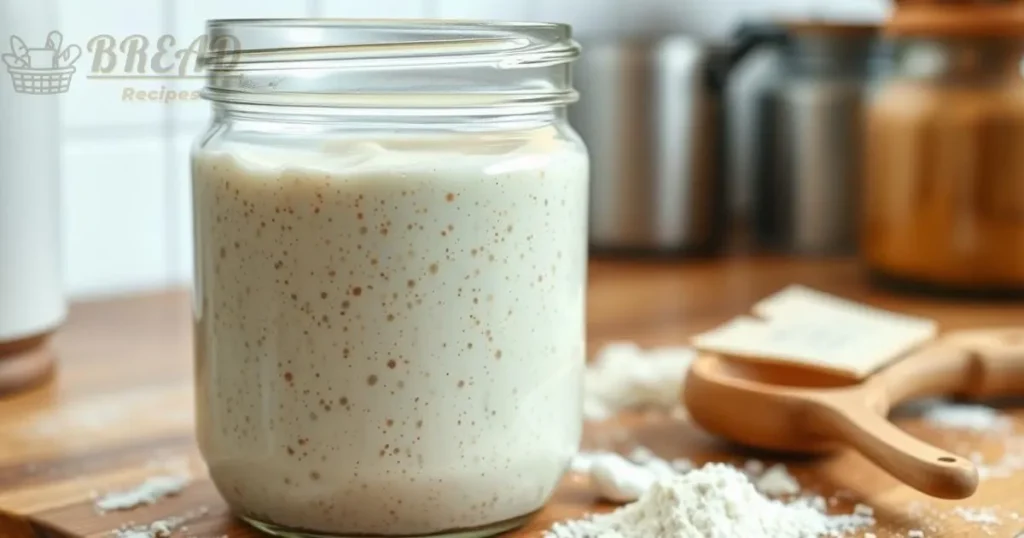
A healthy starter will double in size and look bubbly in 4-8 hours after feeding. Store it in the fridge and feed it weekly for long-term storage. Before baking, let it warm up and become active.
Sourdough Starter Feeding Ratio and Schedule
Feed your starter with 1 part starter, 1 part flour (70% all-purpose, 30% whole rye), and 1 part water. This keeps it healthy and reliable.
Feed it twice a day to keep it at its best. This matches its natural 12-hour cycle at 76°F (24°C). Adjust the starter amount for your kitchen’s temperature.
| Feeding Frequency | Starter Maintenance | Discard Usage |
|---|---|---|
| Twice daily | Maintain ~220g starter | Repurpose in recipes |
| Weekly (refrigerated) | Prevent over-acidification | Reduce food waste |
Discarding some starter is crucial to avoid too much acid. Use the discarded starter in recipes like pancakes and brownies. This helps reduce waste.

“Maintaining a sourdough starter can save money by eliminating the need to purchase commercial yeast, and a properly cared for starter can live for years, promoting sustainability.”
Making the Perfect Sourdough Bread Bowl: Step-by-Step Process
Making sourdough bread bowls at home is a fun and rewarding process. It combines baking art with fermentation science. Each step is important to get the right crust and soft inside.
Preparing the Dough Mixture
Start by mixing your sourdough starter with warm water in a big bowl. Add bread flour and salt slowly. Knead the dough for 5-6 minutes by hand or 3-4 minutes with a stand mixer. This makes the dough smooth and elastic.
Fermentation and Proofing Techniques
Cover the dough and let it ferment at room temperature for about 6 hours. This lets the yeast and bacteria do their work. After it doubles in size, divide it into four parts and shape each into a ball.
Place the sourdough bread bowls on a parchment-lined baking sheet. Let them proof for 45-60 minutes.
Shaping and Scoring Methods
To get the sourdough bread bowl shape, score the top of each ball with an “X” using a sharp knife or lame. This improves looks and helps the dough expand while baking.
| Step | Time | Temperature |
|---|---|---|
| Bulk Fermentation | ~6 hours | Room temperature |
| Proofing | 45-60 minutes | Room temperature |
| Baking | 20 minutes with lid, 25-30 minutes without lid | 450°F (232°C) |
By following these steps, you’ll make perfect sourdough bread bowls. They’re great for soups, stews, and dips.
Baking Techniques for Crusty Exterior and Soft Interior
Creating sourdough bread bowls with a crispy crust and soft inside is key. Follow these steps to make your homemade San Francisco sourdough bread bowls stand out.
First, preheat your oven to 425°F (220°C). Place a small bowl of water on the bottom rack. This steam helps make the crust crispy and keeps the inside soft.
Bake your bread bowls for 28 to 32 minutes. They should turn golden-brown. Brushing with egg wash can make the crust even shinier.
To check if they’re done, tap the bottom. It should sound hollow. Let them cool completely before serving with your favorite soup or dip.
With these techniques, you’ll make San Francisco-style sourdough bread bowls. They’ll have the perfect mix of crunch and softness, delighting everyone.
Conclusion
Homemade sourdough bread bowls are a tasty way to serve soups and dips. With practice, you can make impressive bowls that make any meal better. Try different flours and fermentation times to create your own sourdough bread bowl recipe.
Remember, sourdough baking takes patience. Each batch helps you get better at making homemade bread bowls. Follow this guide to become a pro at making these delicious bowls.
Whether you’re new to sourdough or already a pro, this recipe is a great start. It helps you make bread bowls that are not only delicious but also look great. Enjoy the process and the yummy results of your sourdough bread bowls.
FAQ
What are the key ingredients for making sourdough bread bowls?
You’ll need an active sourdough starter (150g), filtered water (420g), and flour (660g). Also, add kosher salt (13g).
What essential equipment is needed to make sourdough bread bowls?
You’ll need a kitchen scale, a large mixing bowl, and a dough scraper. A baking sheet, parchment paper, and a sharp knife or bread lame are also key. You might also use a stand mixer with a dough hook and a proofing basket.
How do I create and maintain a healthy sourdough starter?
Start by mixing equal parts flour and water. Let it ferment at room temperature. Feed it daily with fresh flour and water, discarding some to keep it the right size.
A healthy starter will double in size and look bubbly within 4-8 hours after feeding. Store it in the fridge and feed it weekly to keep it alive.
What is the step-by-step process for making sourdough bread bowls?
First, mix the starter with warm water, then add flour and salt. Knead the dough and let it bulk ferment.
Divide the dough into portions, shape into balls, and let them proof. Score the tops with an “X” pattern before baking at 425°F (220°C) with steam for 28-32 minutes until golden brown.
How can I achieve the perfect crusty exterior and soft interior for my sourdough bread bowls?
Use a kitchen scale for accurate measurements. Keep temperatures consistent throughout the process. Bake the bread bowls with steam in the oven.
Brushing the dough with an egg wash before baking can also help create a shiny, crispy crust.

